OpenStreetMap is like the Wikipedia of maps. Back in the earlier days I used to love running around gathering data and mapping every neighbourhood I could.
I reckon I contributed a pretty big portion of street names on the north side of Brissie, by riding around on my bike with my Nokia 6120c (great phone!) and a bluetooth GPS dongle, recording all the points of interest like a pro, to upload to the map when I got home.
It was a great hobby at the time, when vast swathes of Australia were completely blank. Now OpenStreetMap is pretty feature complete, it’s used everywhere.
A short history of maps as a web developer
Back in those days the state of the art for web mapping was the tile-based “Slippy Map”.
Everyone used it, even Google Maps. You’d essentially have a Javascript frontend to let visitors zoom and scroll the map like you do today. But on the server a process would convert all the OpenStreetMap geodata into standardised image tiles (raster tiles).
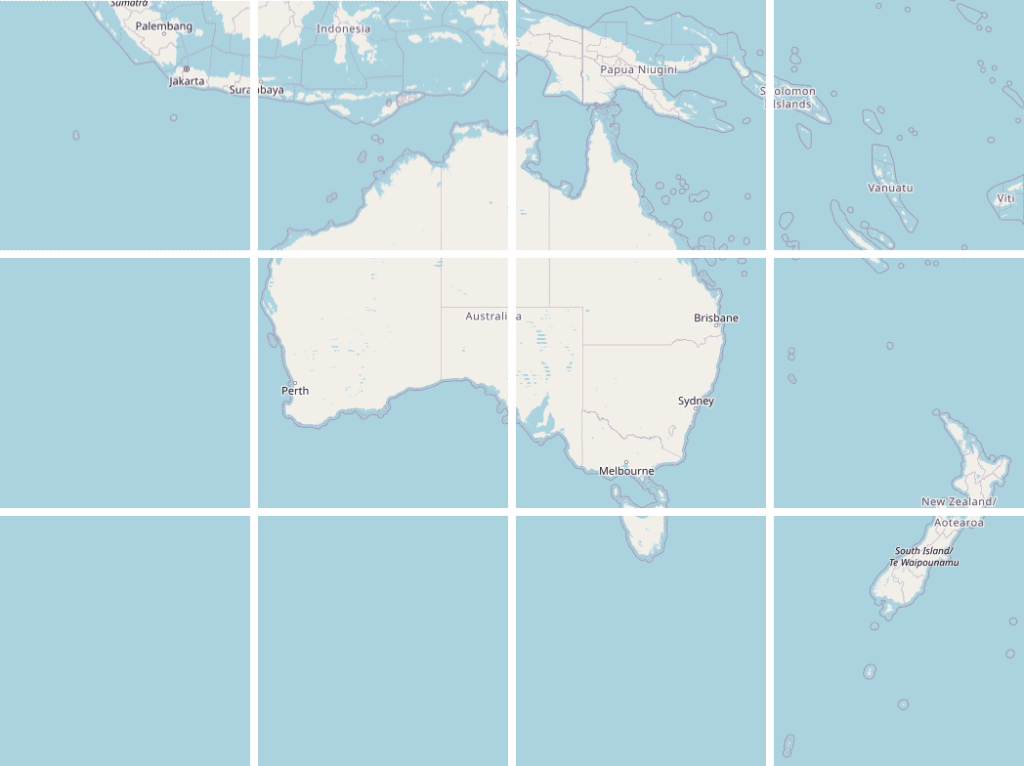
Tiles were commonly created at 256×256 pixels, and were rendered at zoom levels from 0 (the whole world in one tile) down to zoom level 19 where the world would take up 274.9 billion tiles.
This was generally an on-demand process as rendering so many tiles would be infeasible. Ridiculous. Absurd. I can tell you this because I tried a couple of times. Not for the whole world, but a few times I’d tried to scrape, render, cache the entire of Brisbane for assorted projects.
Eventually Mapbox came along with an easy-to-use interface on top of the open source data, and reasonable enough pricing to make it worth switching over.
I gave a talk a decade ago about the cool stuff people were doing with maps, and that included plenty of Mapbox evangelism.
Later Mapbox standardised the Mapbox vector tile format which had a lot of benefits over the older raster tiles.While a raster tile could be styled to look however you want on the server, a vector tile could be styled on the client-side. That meant the same tile could power a hundred different map styles, even dynamically on the client-side. In addition, vector data makes things like animating between zoom levels look great. Generally, a huge step forward.
The new OpenGL map library was released to take advantage of these benefits and it unlocked a lot of really high quality maps for the masses.
By this point high quality maps were par for the course and radical innovation in the space kind of flattened out.
My opinion of Mapbox turned when they went the way of every venture backed startup; got involved in union busting, closed-sourced their tools and started turning the money dial up.
That’s when I started playing with maps again.
Cycling maps
Since at least 2010 I’ve maintained briscycle.com in some form or another, and always one of the main features has been maps to show safe routes and how infrastructure connects up.
I’ve gone through phases of running my own tile server, using statically rendered tiles, and third party map services including Mapbox (who can’t do very good cycling maps fyi). But recently I figured I’d go back to rendering my own.
I don’t remember where I spotted tilemaker, but it has such a sweet looking website that it inspired me to have a go at building my own vector tiles. It wasn’t as easy as the website led me to believe, but after lots of trial and error, some coding in lua to get the right properties out, I managed to get a decent looking cycling map out of it.
I largely followed the instructions from Wouter van Kleunen’s how-to blog post, then:
- extended it by customising the lua processor to pull out more cycling attributes (and skip attributes I wasn’t interested in.
- styled the map using a standard json map style, but I also processed that on the client-side to add more repetitive things like road casings. You can check out the code here. (edit 2024: apparently maputnik lets you create style json in a graphical way)
- Set up a small Docker machine to serve mbtiles (dockerfile source)
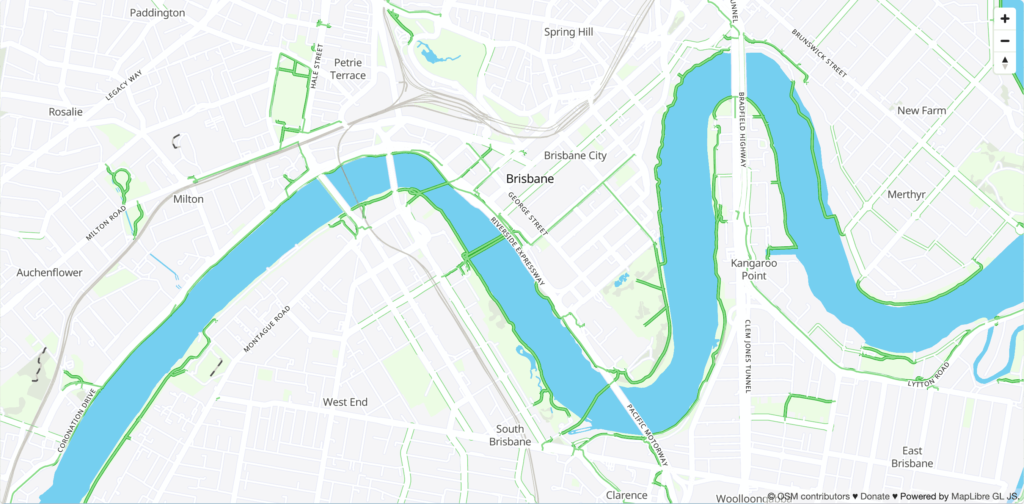
The result is pretty cool.
It’s very fast because it’s hosted in Brisbane for a Brisbane audience, so the map tiles don’t need to transit the globe before being displayed.
The tiles themselves are optimised pretty well and allow me to tweak the styles in almost real time. There’s still a few weird bits, but I reckon it’s a good base layer to add stuff to, like geojson routes (check out the brisbane valley rail trail).
So that’s it from me. You can check out the map at briscycle.com/map or check out some of the cycling trips in Brisbane for more.


